Becoming a U.S. citizen is both a legal process and a civic turning point. It is paperwork and appointments, yes, but it is also the moment you move from living under the Constitution to helping steer the republic it creates.
Naturalization is run by U.S. Citizenship and Immigration Services (USCIS). The steps are predictable, the standards are specific, and the most common frustrations come from avoidable mistakes: applying too early, forgetting a trip abroad, underestimating the civics test, or missing a document request.
This guide walks through the process step by step, with current costs, typical timelines, and the reasons applications most often get denied.
Step 0: Make sure you are eligible
Most people naturalize through lawful permanent residence, meaning you have a green card. There are different rules for military service, certain children of U.S. citizens, and derivative citizenship. This article focuses on the standard naturalization route using Form N-400.
Basic eligibility checklist (most applicants)
- Age: 18 or older at the time you file Form N-400.
- Status: A lawful permanent resident (green card holder).
- Continuous residence: Usually 5 years as a permanent resident, or 3 years if you are married to and living with a U.S. citizen (and your spouse has been a citizen for those 3 years).
- Physical presence: Generally at least 30 months in the U.S. during the last 5 years, or 18 months during the last 3 years for the marriage-based path.
- State residence: Usually at least 3 months living in the state or USCIS district where you file.
- Good moral character: A legal term that includes criminal history, honesty in immigration filings, child support obligations, and certain tax issues.
- English and civics: You must generally read, write, and speak basic English and pass the civics test, unless you qualify for an exception.
- Attachment to the Constitution: You must be willing to support the Constitution and take the Oath of Allegiance.
Timing tip: the 90-day early filing window
USCIS generally allows you to file up to 90 days before you complete your 3-year or 5-year continuous residence requirement. Filing earlier than that can lead to a denial.
Common eligibility issues that surprise people
- Long trips abroad: Trips of 6 months or more can disrupt “continuous residence,” and trips of 1 year or more almost always do unless you took specific steps in advance.
- Unfiled or problematic taxes: Owing taxes is not always disqualifying, but not filing returns, claiming “nonresident” status improperly, or ignoring payment plans can become a major issue.
- Arrests and citations: Even dismissed cases should be disclosed. USCIS cares as much about honesty as it does about the disposition.
- Selective Service registration: Some men who lived in the U.S. between ages 18 and 26 were required to register. USCIS can ask about it.
Practical takeaway: If you have a complicated travel history, any arrests, or tax concerns, consider getting legal advice before you file. “I did not think it counted” is one of the most expensive sentences in immigration.
Costs and timeline at a glance
USCIS fees (current)
- Form N-400 filing fee (online): $710.
- Form N-400 filing fee (paper): $760.
- Biometrics: The separate biometrics fee has been eliminated for most applicants under the current fee schedule.
USCIS fees can change. Always confirm the current fee on the official USCIS Form N-400 page before you submit payment. Some applicants qualify for a fee waiver or reduced fee based on income and circumstances.
Typical overall timeline
Naturalization timelines vary by location and case complexity. A common range is 6 to 18 months from filing to oath ceremony.
- Receipt notice: often within a few weeks
- Biometrics: often within 2 to 8 weeks after filing (sometimes reused from prior records)
- Interview and tests: often 4 to 14 months after filing
- Oath ceremony: sometimes same day, often within weeks to a few months after approval
Step 1: Prepare before you file
The fastest applications are not the ones filled out quickly. They are the ones filled out completely.
Documents and information to gather
- Green card (front and back copy)
- Passport(s) and a list of all trips outside the U.S. during the statutory period
- Addresses for where you have lived (typically 3 or 5 years)
- Employment and school history (typically 3 or 5 years)
- Marriage and divorce records if applicable
- Spouse’s proof of citizenship for the 3-year marriage-based path (passport, birth certificate, naturalization certificate)
- Tax return transcripts are often helpful, especially if you have any tax complications
- Court records for any arrest, charge, or citation involving law enforcement, even if dismissed
Start studying early for civics and English
Many people assume the test is the last step. In practice, it is the step that causes the most stress because it arrives sooner than expected. If your interview is scheduled quickly, you want to be ready.
Step 2: File Form N-400
Form N-400, Application for Naturalization, is the core filing. You can often file online through a USCIS account or by mail, depending on your situation.
What USCIS is really looking for in the N-400
- Identity and eligibility (your status, dates, and qualifying time period)
- Residence and travel consistency (your continuous residence and physical presence)
- Truthfulness (matching your past immigration records and disclosures)
- Security and criminal checks
- Attachment to constitutional principles (more on this at the interview)
Common N-400 mistakes
- Forgetting trips abroad or listing incorrect dates
- Leaving gaps in employment history or addresses
- Answering “No” to a question that should be “Yes,” especially for prior citations, arrests, or immigration issues
- Submitting the wrong fee or outdated edition of the form (for paper filings)
Tip: Keep a complete copy of what you submit, including all attachments. Bring that copy to your interview. USCIS will have your file, but you should too.

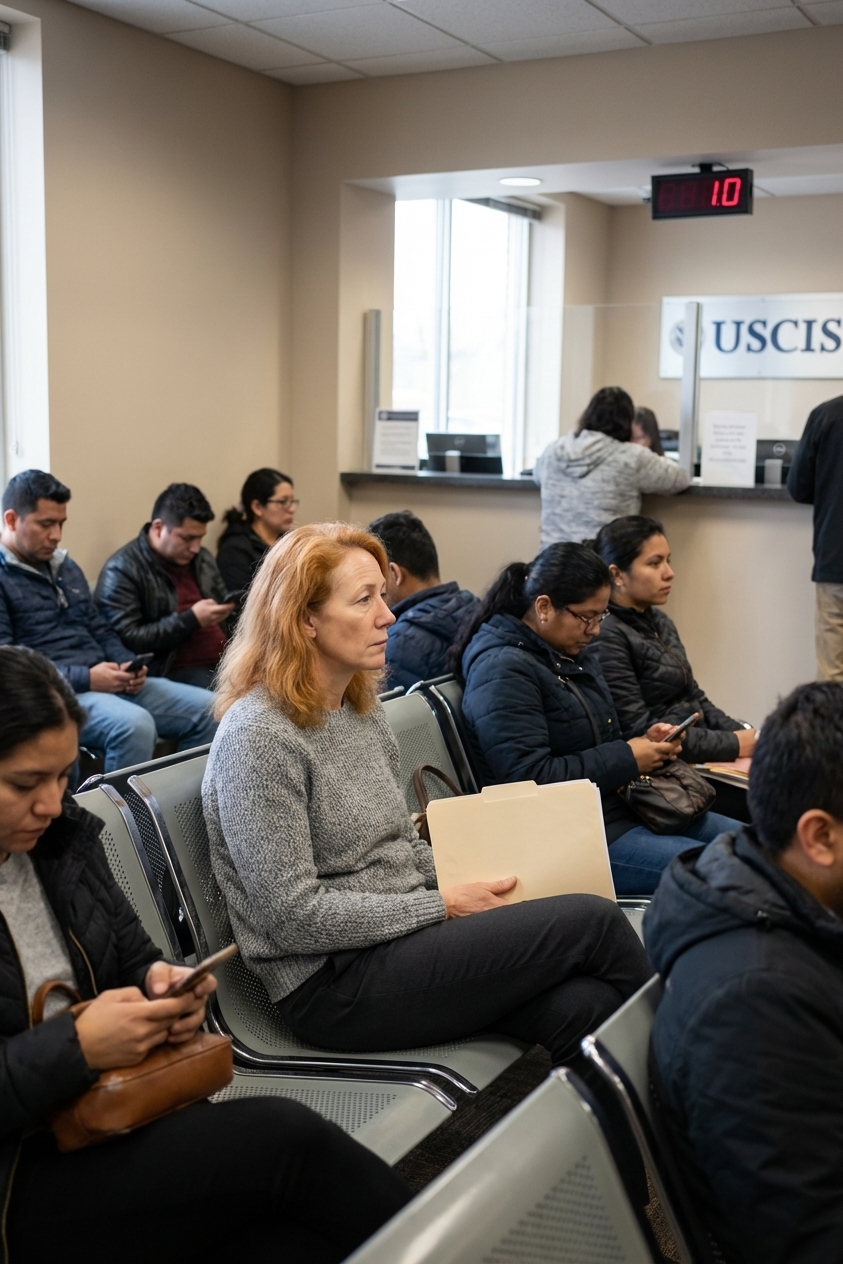
Step 3: Get your receipt notice and biometrics appointment
After you file, USCIS sends a receipt notice confirming they received your N-400. Next comes biometrics, unless USCIS reuses biometrics from a previous immigration application.
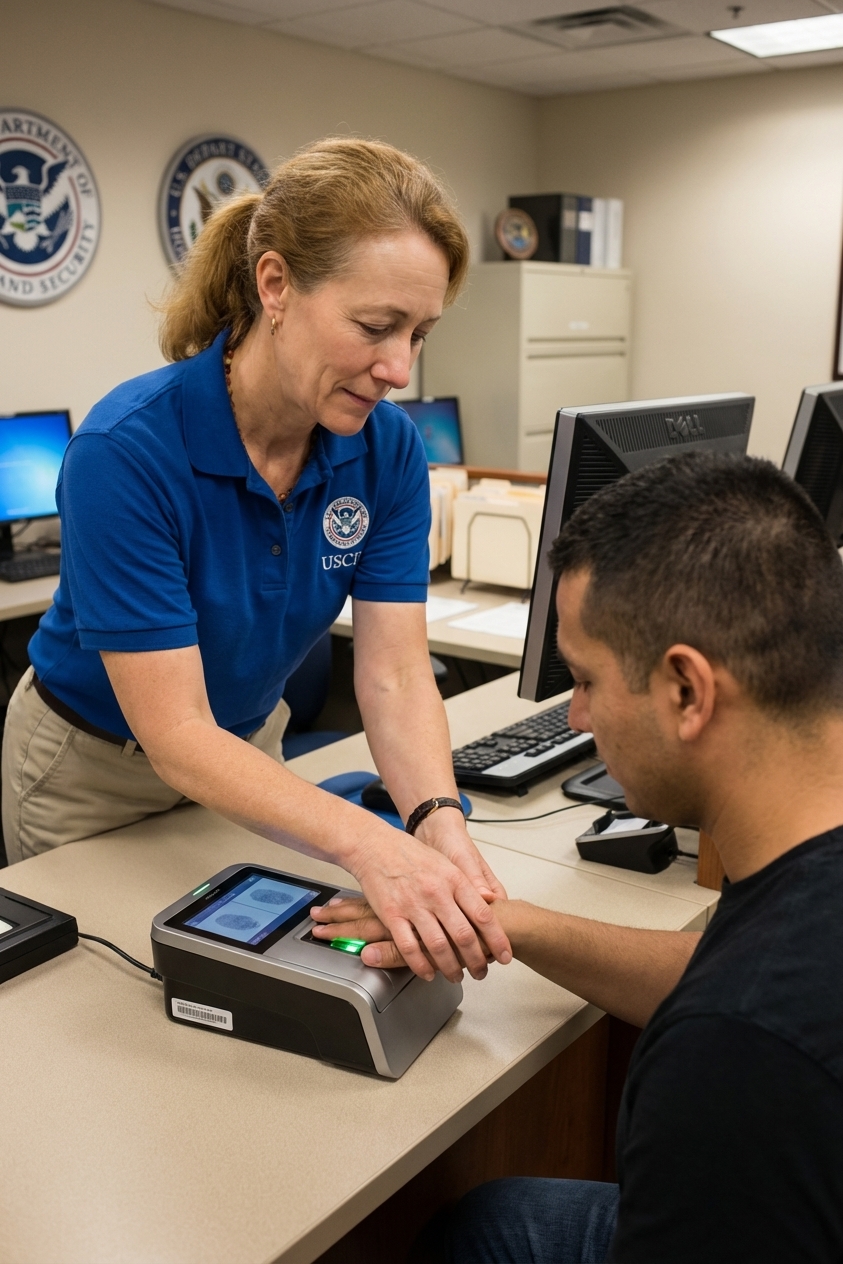
What happens at biometrics
You will typically go to an Application Support Center (ASC) for fingerprints, a photo, and a signature. This allows USCIS to run background checks.
- Bring the appointment notice and government-issued ID.
- Arrive early. The appointment itself is often brief.
- Reschedule if you must, but do not ignore the notice.
Step 4: Prepare for the civics and English tests
The naturalization interview usually includes both the civics test and the English test. USCIS officers are trained to evaluate English during the conversation itself, and they will also administer reading and writing portions.
The civics test
USCIS asks questions from a set list (the version depends on your filing date and eligibility rules). You are typically asked up to 10 questions, and you must answer 6 out of 10 correctly to pass.
- Study the official USCIS list and practice out loud.
- Do not just memorize. Understand the themes: separation of powers, federalism, rights, and civic responsibility.
The English test
- Speaking: evaluated through your interview conversation
- Reading: typically reading one sentence correctly
- Writing: typically writing one sentence correctly
Who can get an exception?
Some applicants qualify for age and long-term residency exceptions, and some qualify for disability-based exceptions with proper medical documentation. USCIS applies these rules carefully, so do not assume you qualify without checking.
Constitutional connection worth noticing: The civics test is not a trivia contest. It is the government asking whether you understand the structure you are about to join. Naturalization is one of the few moments where the Constitution is not just background. It is the subject.
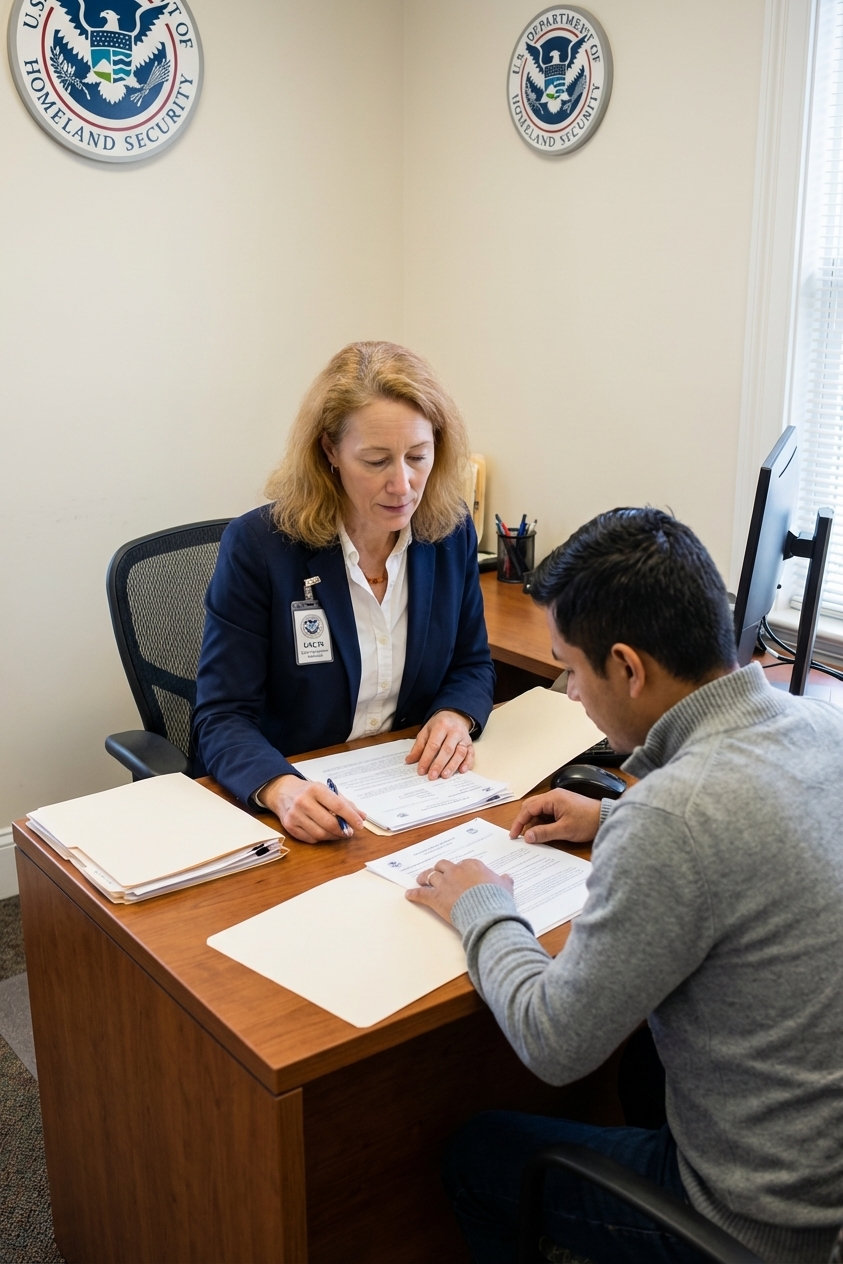
Step 5: Attend the naturalization interview
The interview is the decision point. A USCIS officer reviews your N-400, confirms key facts, tests civics and English, and evaluates eligibility. Most interviews are straightforward when the application is complete and consistent.
What to bring
- Your interview appointment notice
- Your green card
- Passport(s) and travel documents
- State ID or driver’s license
- Certified court records for any incidents disclosed
- Marriage certificate and spouse documents if applying under the 3-year rule
- Any documents USCIS specifically requested
- A copy of your submitted N-400 and supporting evidence
What the officer may ask about
- Your travel dates and longest trips outside the U.S.
- Your marital history and living arrangements (if applicable)
- Your work history
- Any “Yes” answers in the security and background section
- Your willingness to take the Oath of Allegiance, including questions about bearing arms or performing service, with accommodations for those who qualify
Possible outcomes
- Approved: You may be scheduled for an oath ceremony, sometimes the same day, often later.
- Continued: USCIS needs more documents or you need a retest for civics or English.
- Denied: USCIS will send a written decision explaining why.
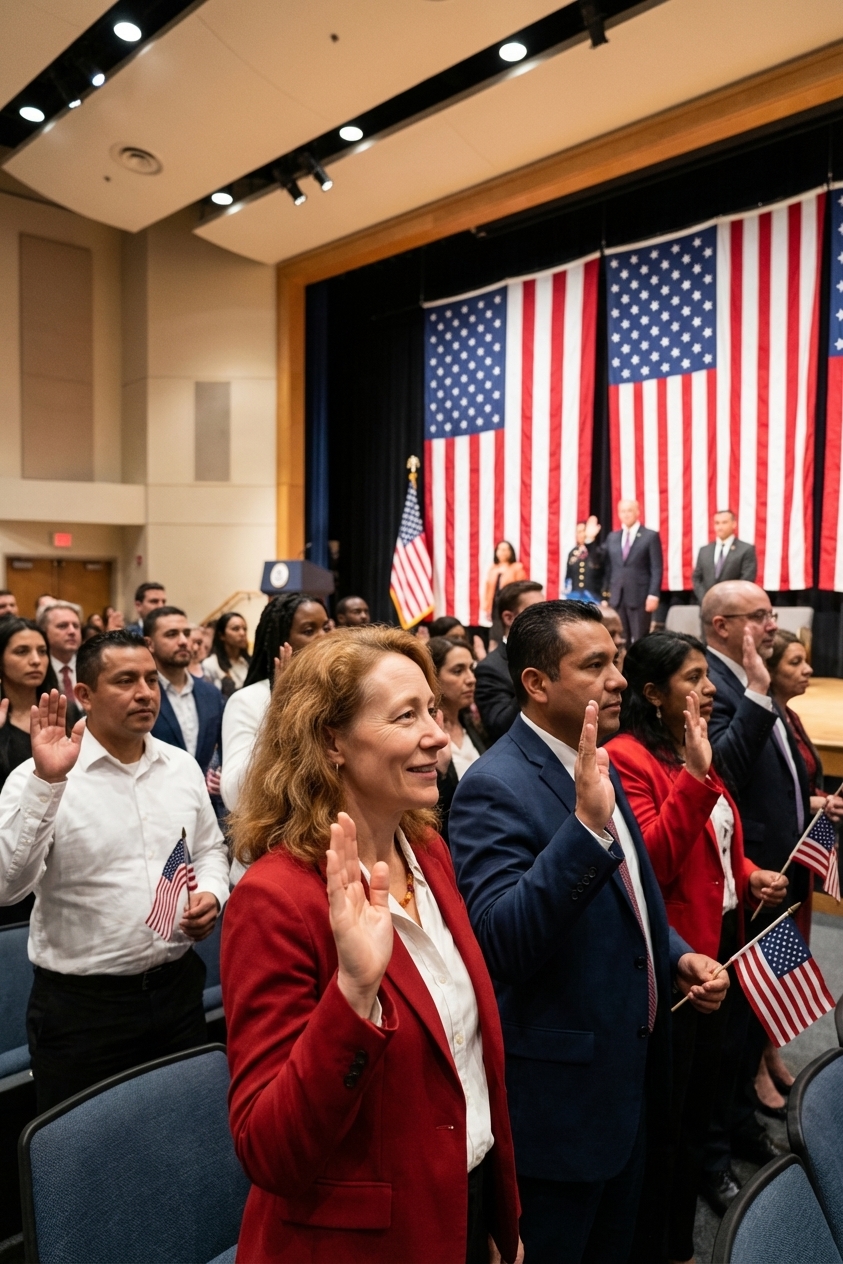
Step 6: Take the Oath of Allegiance
If approved, you will attend a naturalization ceremony and take the Oath of Allegiance. This is when you become a U.S. citizen, not when the application is approved.
What happens at the ceremony
- You check in and return your green card.
- You take the oath and receive your Certificate of Naturalization.
- You may be offered voter registration information.
After the ceremony: your immediate checklist
- Review your certificate before you leave. Fixing errors later can be slow.
- Update Social Security to reflect citizenship.
- Apply for a U.S. passport. It is often the most practical proof of citizenship for travel and identification.
- Register to vote if you plan to participate in elections.
There is a quiet constitutional idea embedded in the oath: citizenship is not only a bundle of rights, it is also a public commitment. The Constitution protects you either way, but citizenship asks you to help maintain the system that protects everyone.
Common reasons for denial or delay
Most denials trace back to a small set of problems. Some are fixable on refiling. Some create longer-term barriers.
1) Applying too early
Filing outside the 90-day early filing window can lead to denial. Double-check your eligibility date.
2) Breaks in continuous residence
Extended trips abroad can disrupt eligibility. USCIS looks at both the length of each trip and whether your life appears primarily based in the United States.
3) Good moral character issues
- Serious criminal convictions
- Multiple offenses or recent offenses within the statutory period
- Failure to pay court-ordered child support
- Dishonesty or misrepresentation on forms or at the interview
4) Failure to file taxes or tax misrepresentation
Not filing required returns, improperly claiming nonresident status, or refusing to address outstanding tax debts can delay or derail a case.
5) Failing the civics or English test
If you fail, you usually get one retest opportunity. Many people pass on the second try, but it extends your timeline.
6) Missing evidence or not responding to USCIS
If USCIS issues a Request for Evidence (RFE) or reschedules an appointment, deadlines matter. Non-response can lead to denial.
What if you fail the test or get denied?
If you fail the English or civics test
USCIS typically schedules a second interview for the portion you failed. Use the extra time strategically: practice speaking, writing, and the exact civics questions list you are required to study.
If your application is denied
A denial is not always the end. You may have options such as requesting a hearing (often through Form N-336) or refiling later, depending on the reason for denial. Because deadlines and strategy matter, this is the moment to speak with a qualified immigration attorney if you have not already.
Step-by-step summary
- Check eligibility: green card status, 3 or 5 year rule, travel, taxes, and good moral character.
- Prepare records: trips, addresses, jobs, family documents, and court dispositions.
- File Form N-400: accurately and completely, with correct fee.
- Attend biometrics: fingerprints and photo for background checks.
- Study: civics and English, starting early.
- Interview: review your N-400, take tests, and answer eligibility questions.
- Oath ceremony: take the Oath, receive your certificate, and officially become a citizen.
If you want to keep learning, the natural next step is the civics portion: not just the questions, but why the answers matter. The Constitution is not a museum piece. For a new citizen, it is a job description.